This may be known to some older players, but you’d be surprised how few newer players know that Jedi Knight has a built in video recorder like all games running the id Tech 3 engine.
NOTE: These recordings can only be played back whilst in-game and not via a media player, they are not video files.
Okay let’s begin!
IF you’re using vanilla Jedi Academy:
Whilst in a server, open the console and type /g_synchronousClients 1. This is meant to sync yourself to all other players as well as the server itself to give the best playback once you’re finished. This does have one big drawback, it will almost certainly lag you. This is why most players turn it off straight away after beginning their recording.
IF you’re using a modern version of Jedi Academy e.g. OpenJK, EternalJK, TaystJK etc:
/g_synchronousClients 1 isn’t required. But if you’re unsure, turn it on anyway.
Next enter the command /record
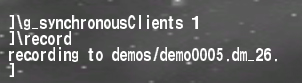
You will receive a message that the game is now recording to a specific file. It will also display the following to show you how large the demo file is:

If you turned /g_synchronousClients on, turn it now to 0.
Once you’re done recording, enter the command /stopdemo
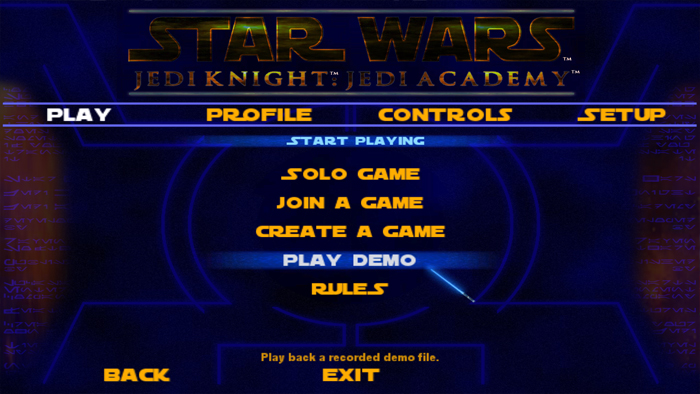
To play back your demo go to the Main Menu, select Play and then Play Demo.
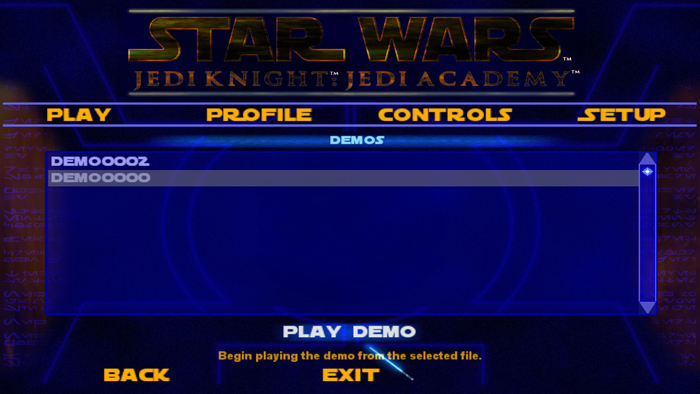
Then select the demo you’d like to play
Alternatively you can playback demos with the /demo command, e.g. /demo demo0002
You can also find all your demo files located in the following places:
Standard JK (Disc)
C:/Program Files (x86)/LucasArts/Star Wars Jedi Knight Jedi Academy/GameData/base/demos
Steam
C:/Program Files/Steam/Steamapps/Common/Jedi Academy/GameData/base/demos
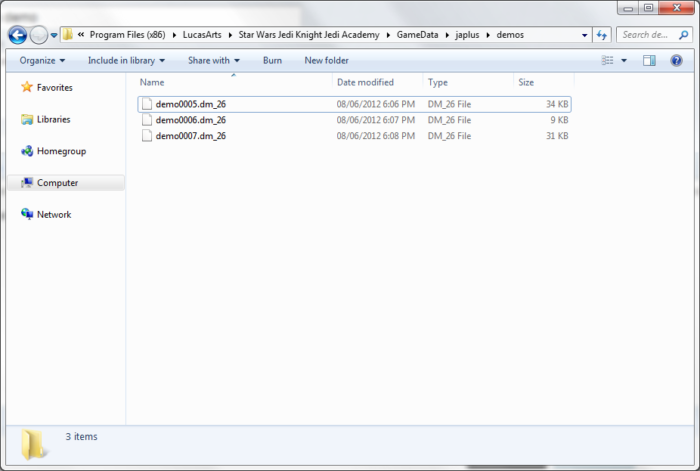
If you’re using a mod such as JA+ then you will find your demos folder inside that mods folder.